DIY PAINTED TERRACOTTA POTS
Living in the city definitely has its drawbacks and unfortunately the apartment we live in doesn’t have a porch or flower-boxes for the window. Since I have to keep my plants indoors I wanted to add a little character to them!
Supplies:
Terracotta pots
Acrylic paints
Adhesive vinyl lettering (I usually grab 2 packages in case I run out of one letter)
*½ inch paint brush
Spray paint (optional)
Clear acrylic sealant (optional)
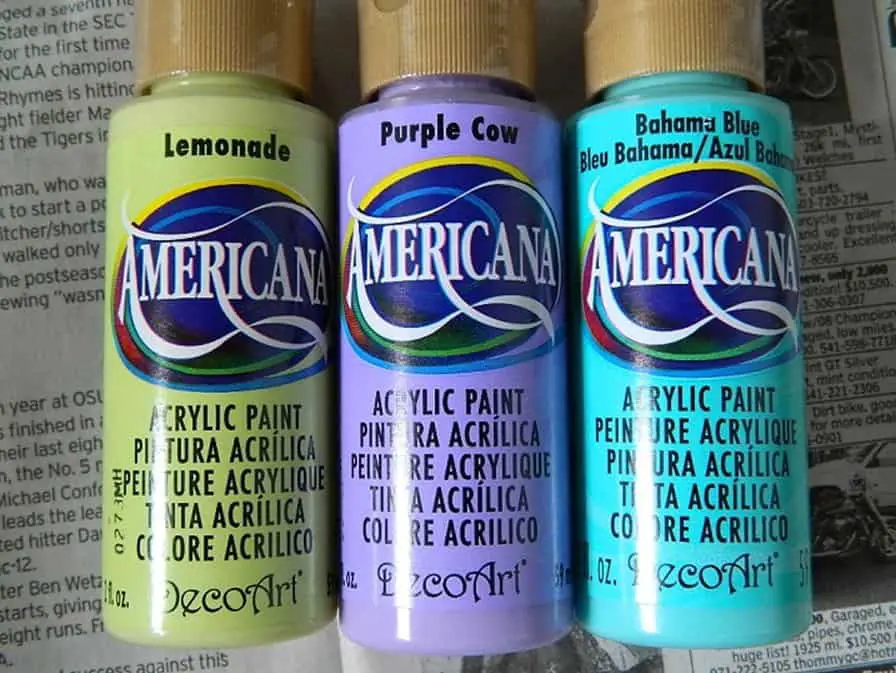
I picked some vibrant acrylic paints in cooler tones that would pair well with the natural terracotta color. If you’re not a fan of terracotta, grab a can of white spray paint and give the pots a healthy coat or two before starting with the acrylics. Also, if you intend to put your pots outside I recommend picking up some clear acrylic indoor/outdoor sealant to weather-proof them.
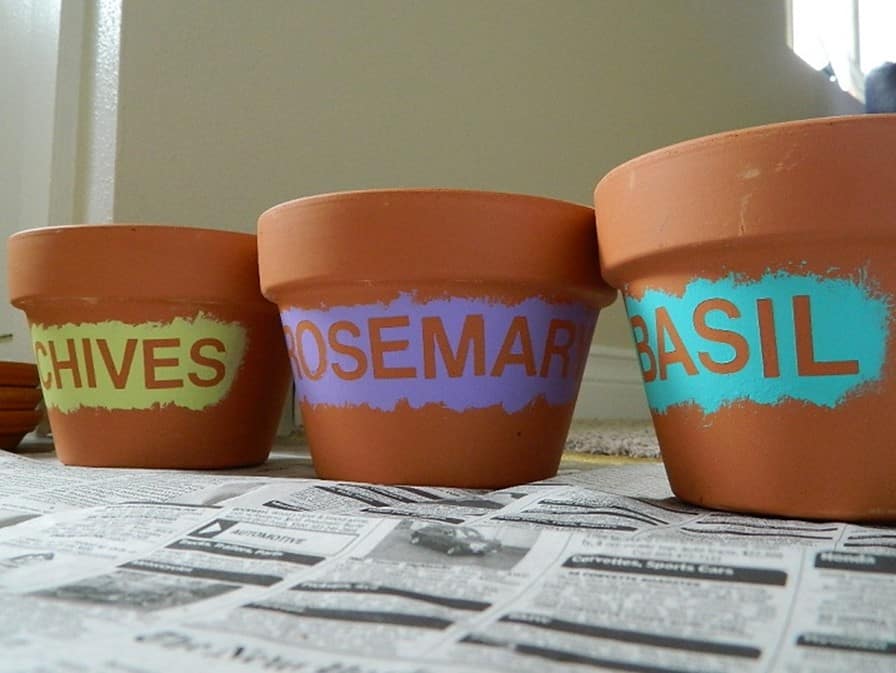
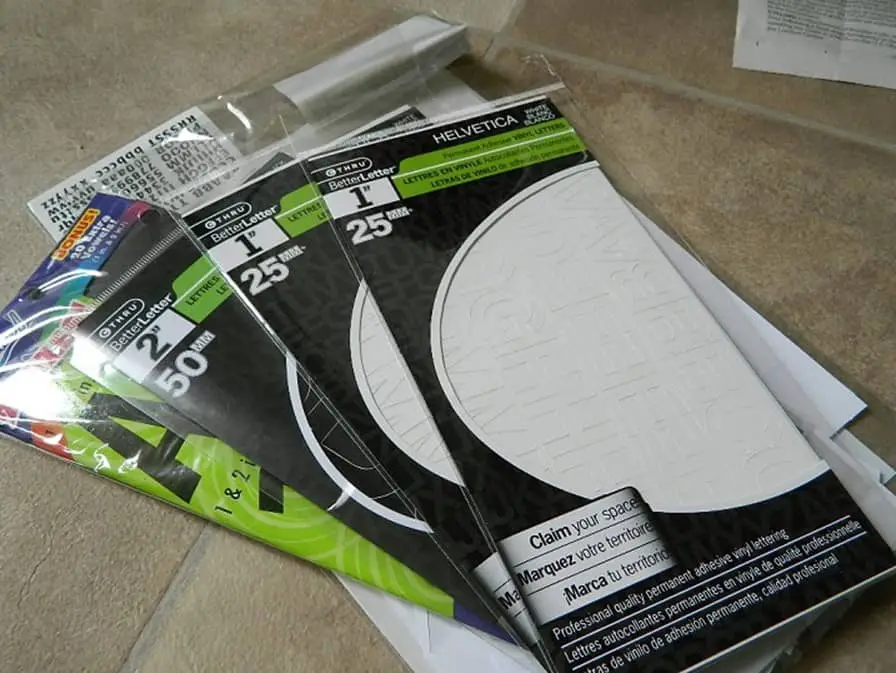
Next you’ll want to pick up a few packs of adhesive vinyl lettering. I used a 1″ size in just a plain font, but they have a number of different styles and sizes to choose from. I usually pick up two packs in case I need several of the same letter or if I tear any of them while I’m working. Grab a cheap ½ inch paint brush and you’re all set!
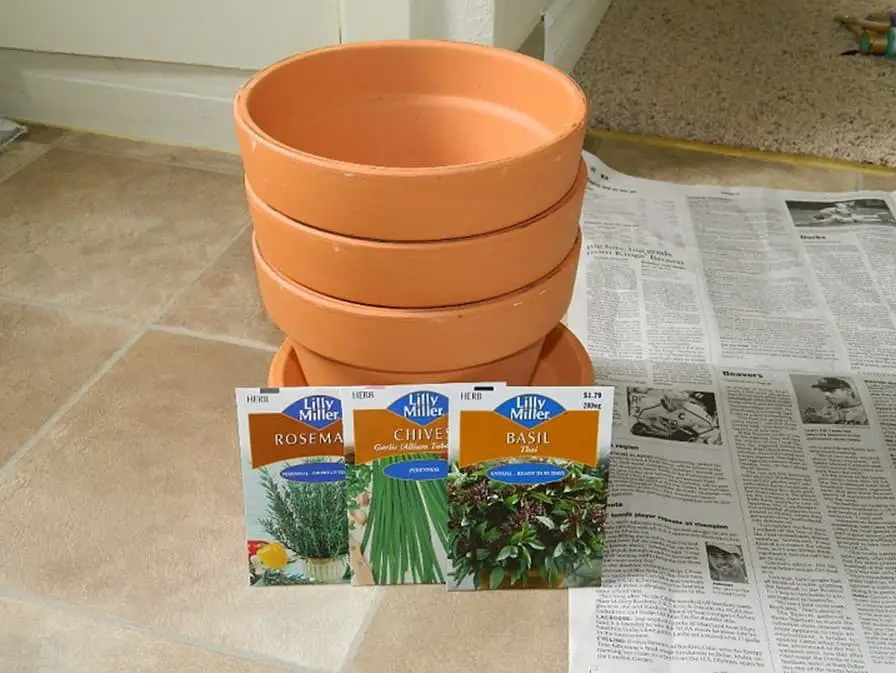
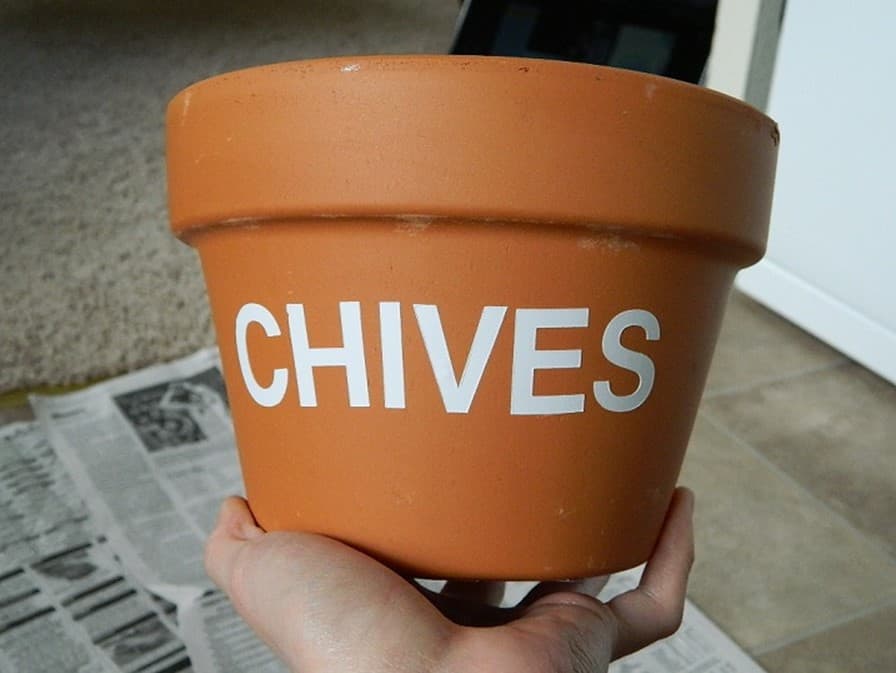
I went for the obvious and just painted on what I planned to grow in the pots, but if you ever wanted to reuse them for another plant, you would have to paint over it. So I might suggest words instead, ie: Live, Laugh, Love, etc.
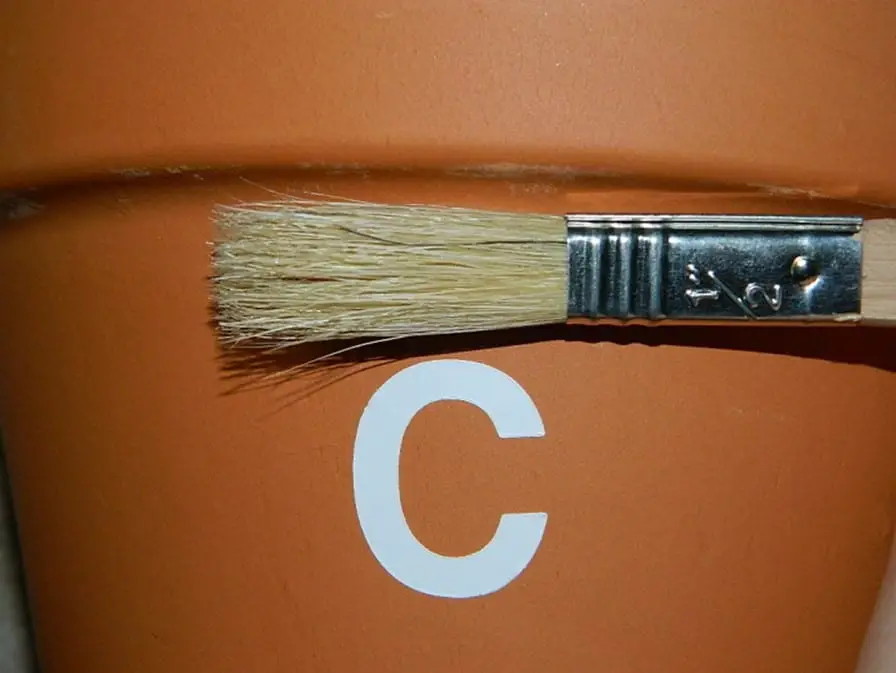
I used my paint brush as a guide for spacing my lettering from the edge of the pot, but if you’re a real perfectionist, grab a pencil and make a dotted line a half inch from the edge to line up the lettering with it. Carefully place your lettering on and lightly rub your finger over the sticker to make sure all edges are stuck down. If you press too hard it’s going to be a real pain in the ass trying to pull the stickers back off!
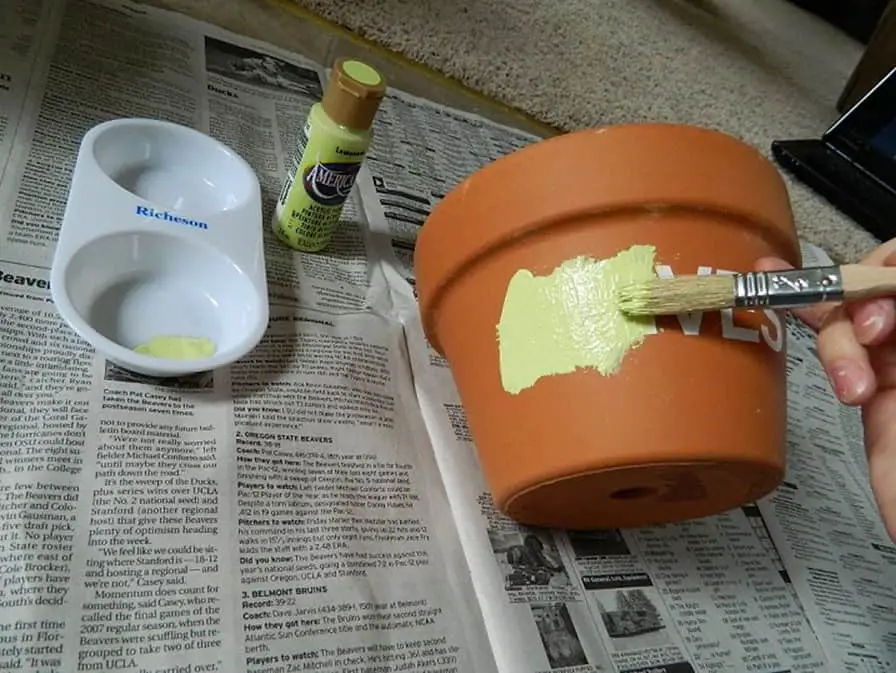
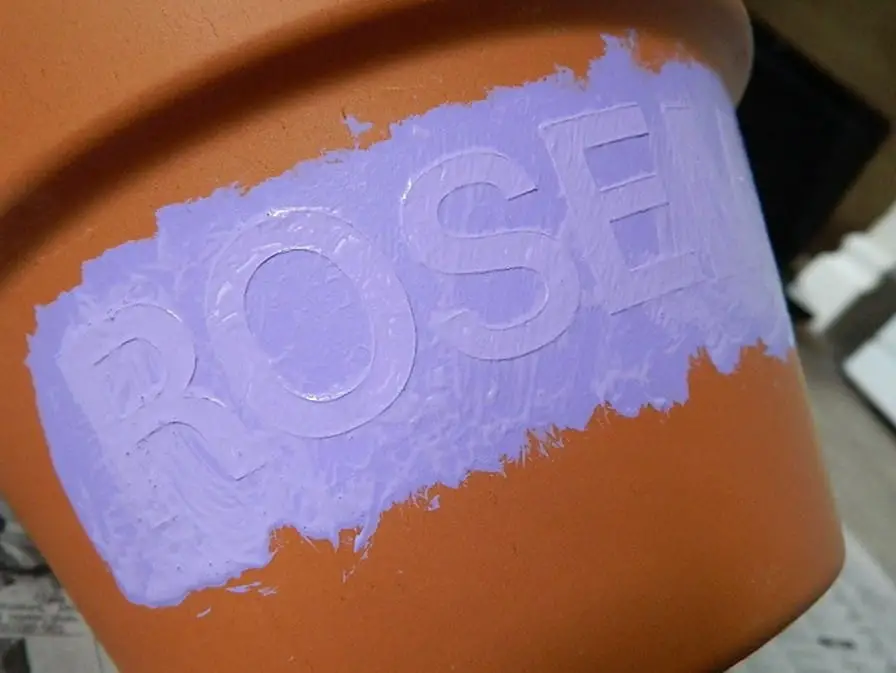
Pour out some paint and brush on a thin coat over the lettering. Be sure that your paint is not too thick or globby because again, it’s going to be really tough to get the stickers peeled off!
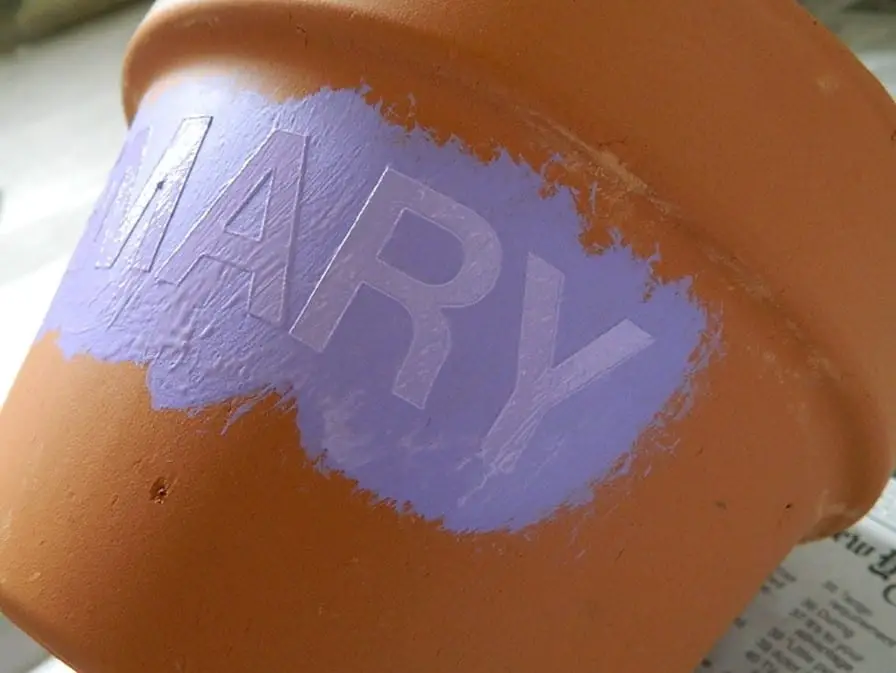
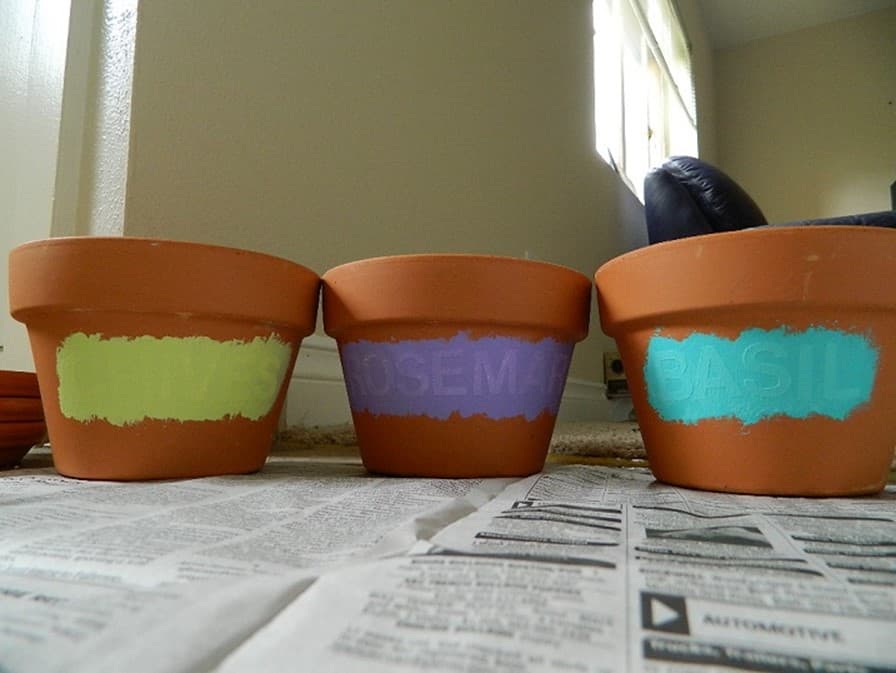
Give the paint about 2-3 hours to dry and then slowly peel your lettering off. You’ll have small imperfections but nothing too extreme. If you accidentally pull a letter off too quickly and it takes some of the paint with it, just grab a small paint brush and touch it up. This project is meant to be unique, not perfect, so don’t sweat the mistakes too much!
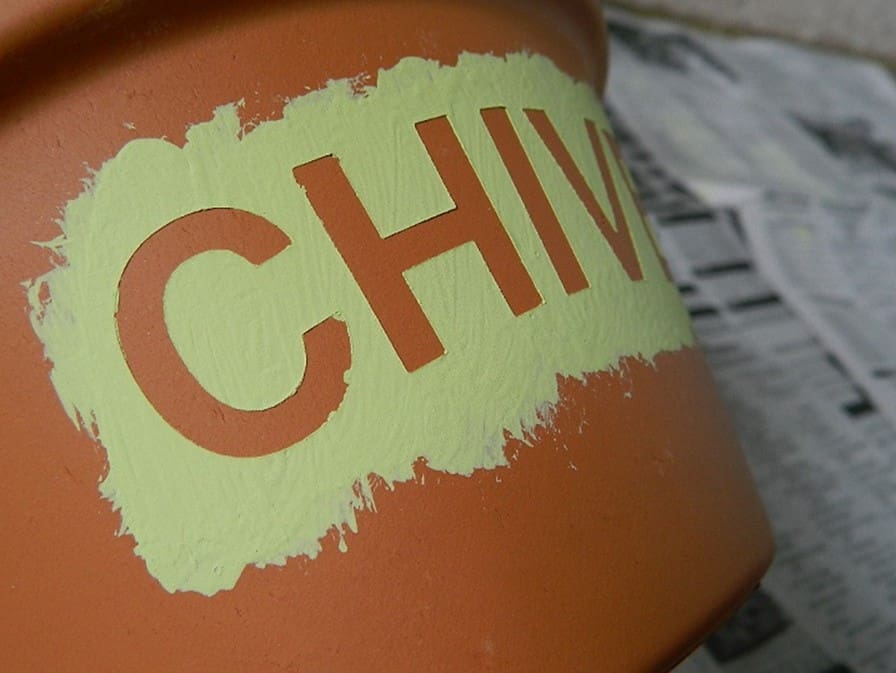
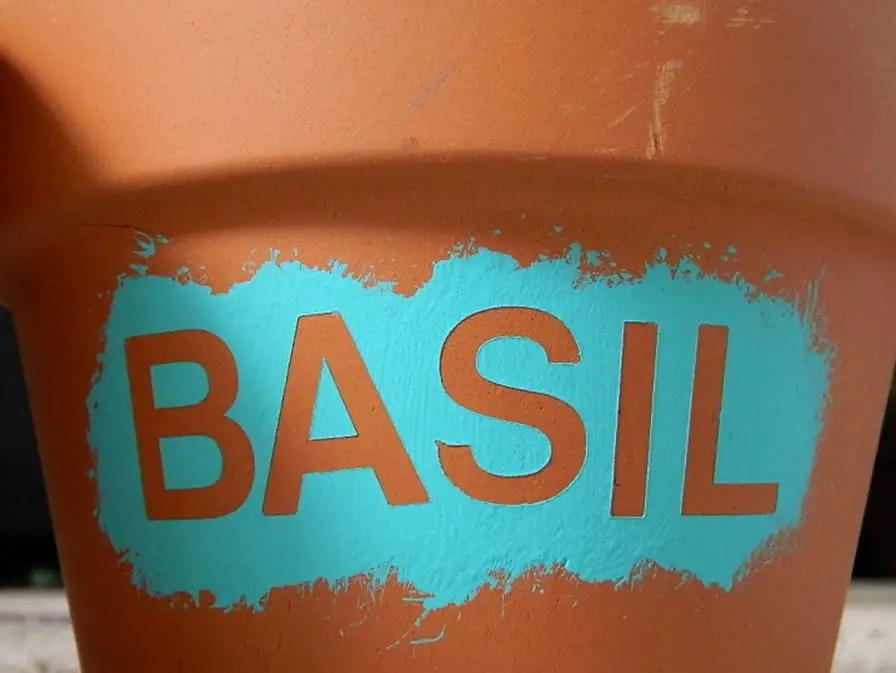
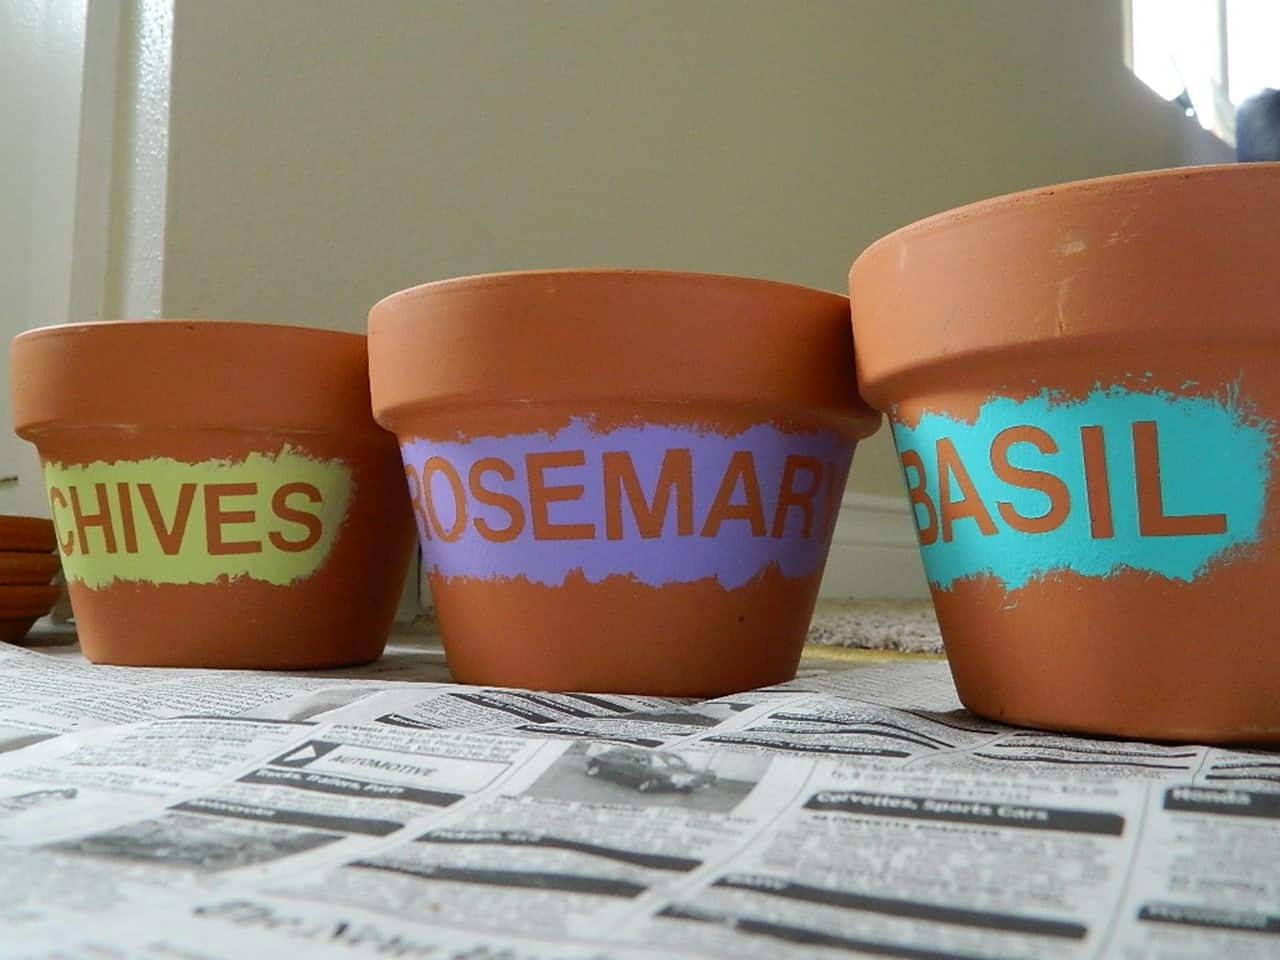
Now that you’ve got yourself some customized planters.. put that green thumb to use and grow something in them!

