DIY Easter Tree
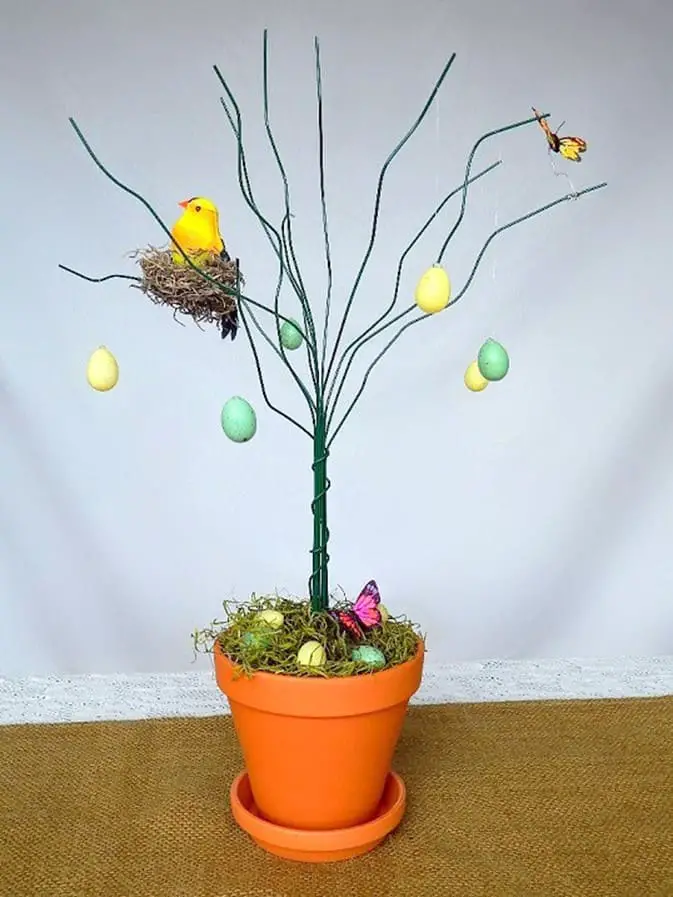
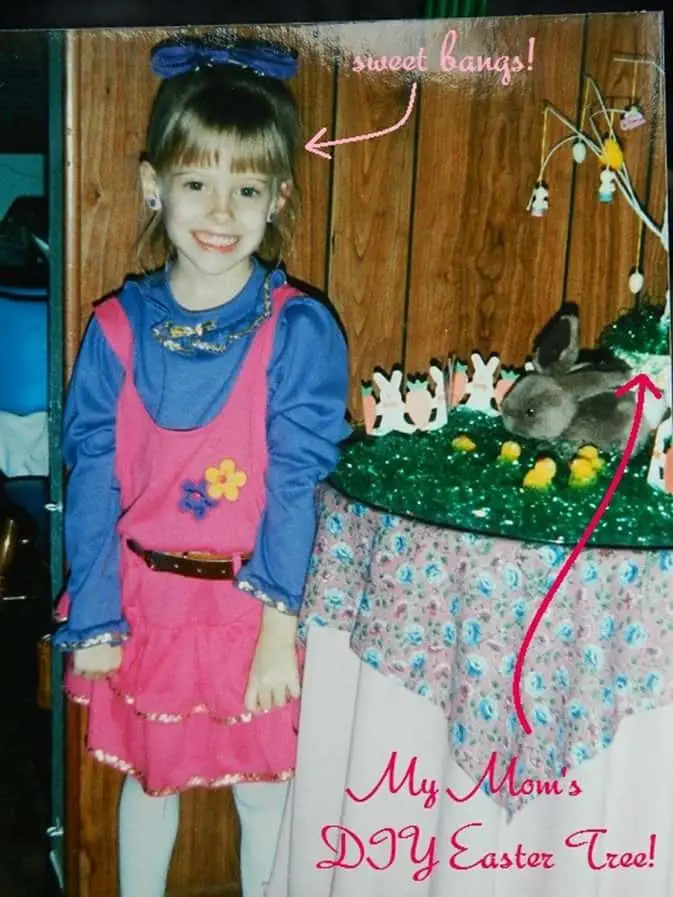
Growing up, my mom was always sewing, crafting, and thrifting. I draw a lot of my inspiration from her and one thing I loved about this time of year is helping her with Easter decorations. She made this cool little Easter tree out of wire that had egg and Easter bunny ornaments and little chicks that we made as well!
Since I’m grown up and I’m not wearing hot pink and purple outfits anymore (bonus photo of me in said outfit included!) I decided to make my own! It makes a wonderful decoration or centerpiece and I now have something I’ll be able to share with my own daughter one day!
…..
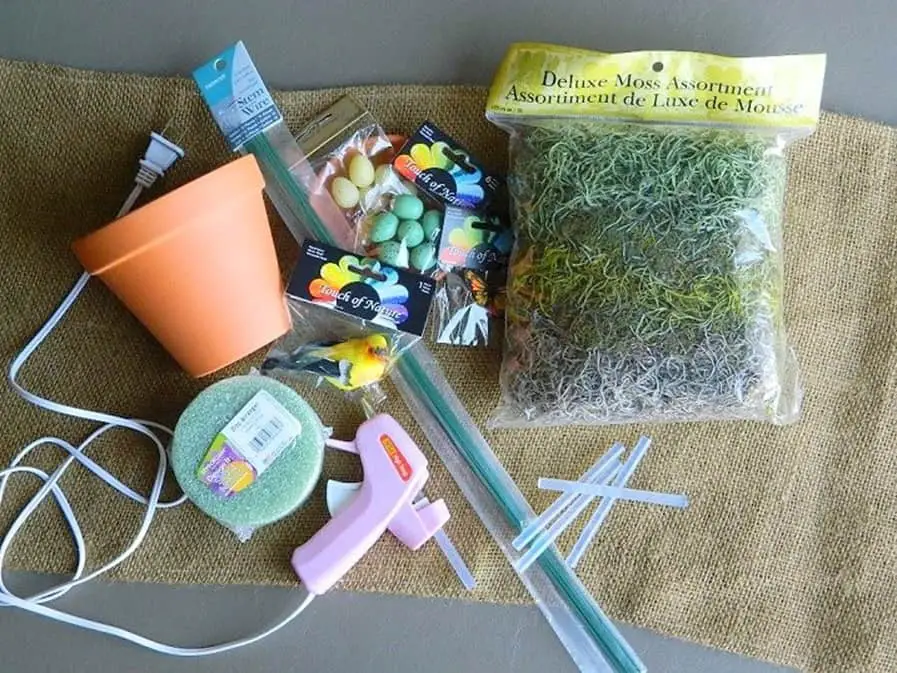
Supplies:
Small terracotta pot or planter (5 inches)
Styrofoam disc arranger to fit in planter (4 inches by 2 inches)
Stem wire, 16 gauge
Spanish moss
Faux bird’s eggs
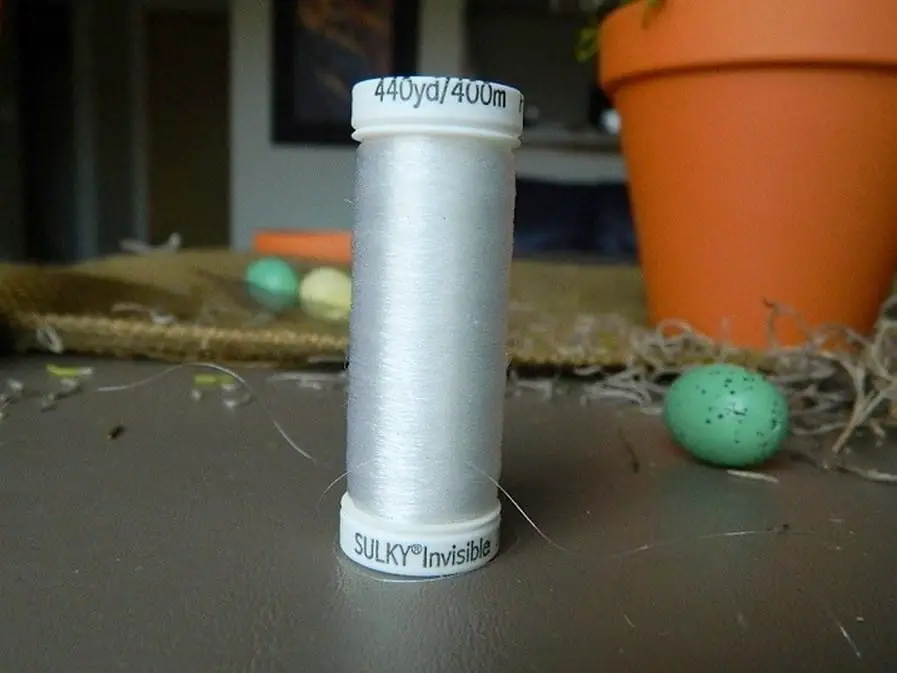
Clear thread or fishing line
Other items:
Faux bird, nest, butterflies, etc.. to decorate tree with
Hot glue gun
Hot glue sticks
Pliers
You can really customize this however you like so get creative!
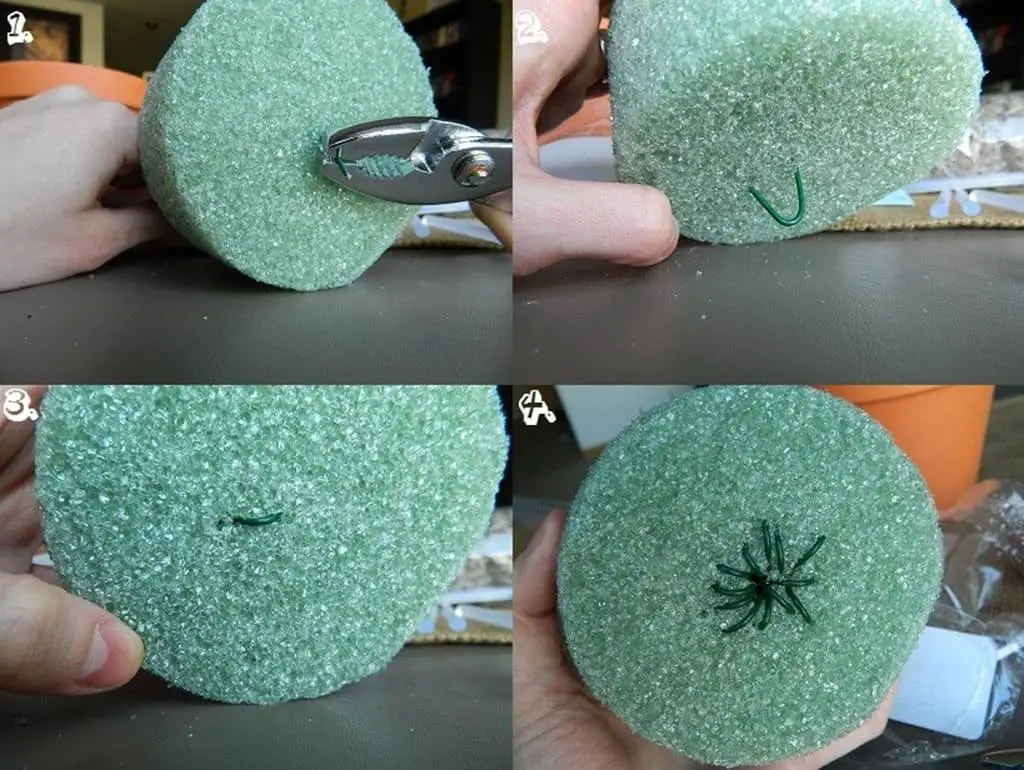
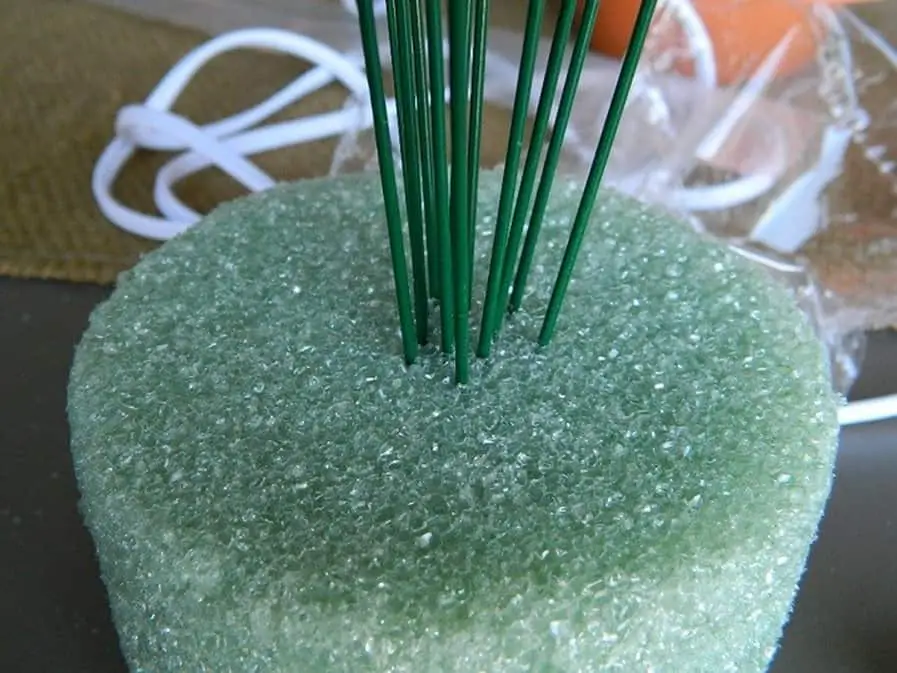
(1.) Start by piercing one of the stem wires through the middle of your Styrofoam disc. (2.) Using pliers, bend about a ½ inch of the wire up to make a hook. (3.) Push hook into Styrofoam to anchor the wire in. (4.) Repeat with remaining wires.
Place disc into the planter. If you’re worried about it tipping over you can always place a few rocks in the bottom of the planter and/or glue the disc to the sides of the planter.
(5.) Place a ring of hot glue around the disc and add moss. (6.) Lift up moss where it did not stick, add more hot glue, and stick down. Continue until all Styrofoam is covered. (7.) Next, take of the stem wires and wind it around all of them. Going up the base of the tree about 5 inches. (8.) Make slight bends in the wires and pull them away from each other to give it a branch-like effect.
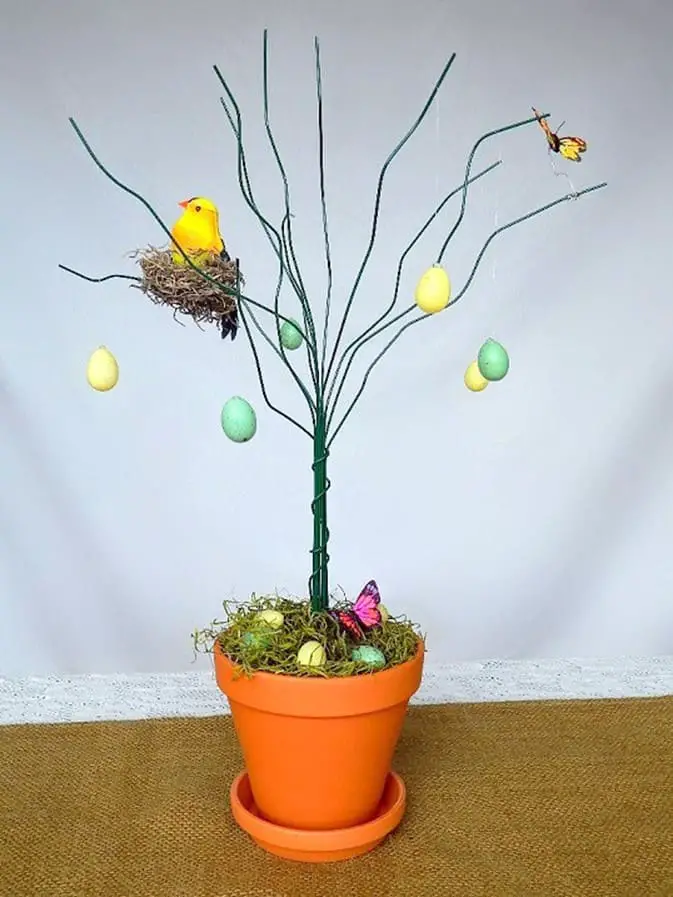
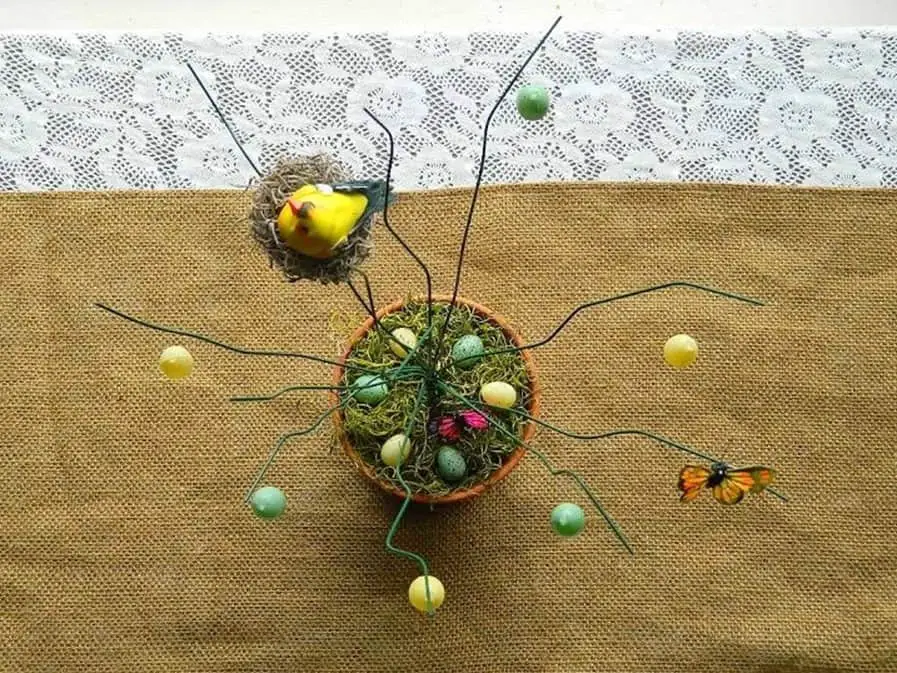
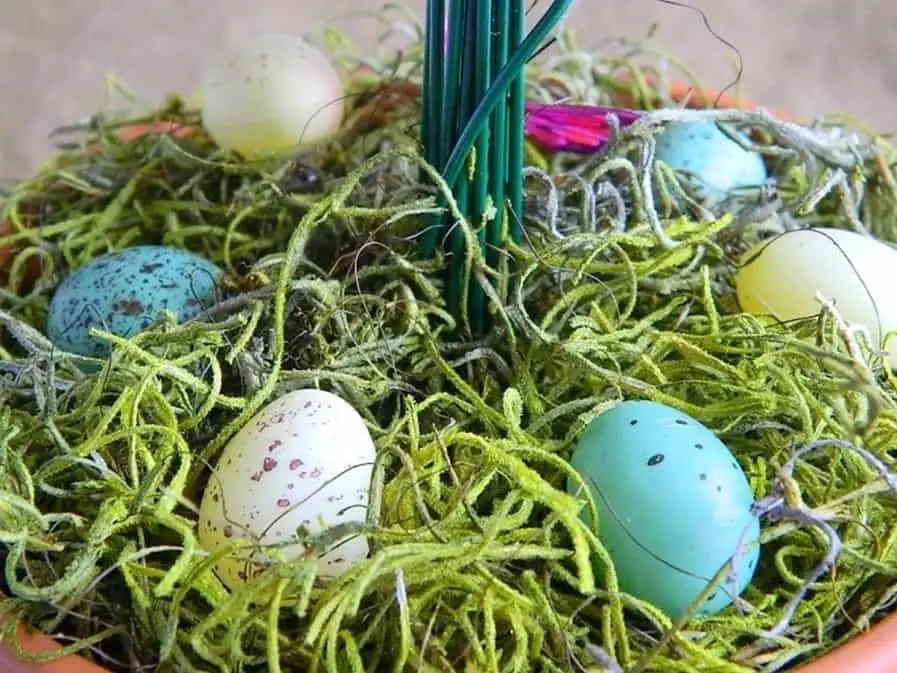
Now to decorate! Place a dab of hot glue on the back of a bird’s egg (FAKE bird’s egg!!) and place down onto the moss. Continue with a few more but remember to save some to turn into ornaments! Add faux birds, butterflies, etc.
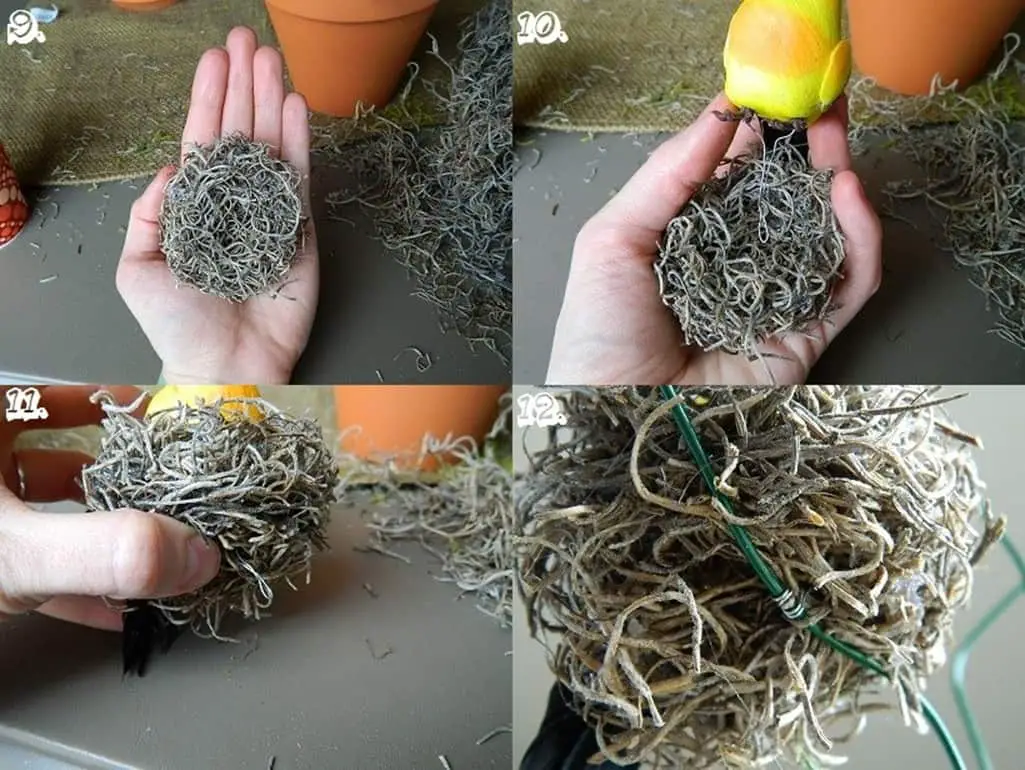
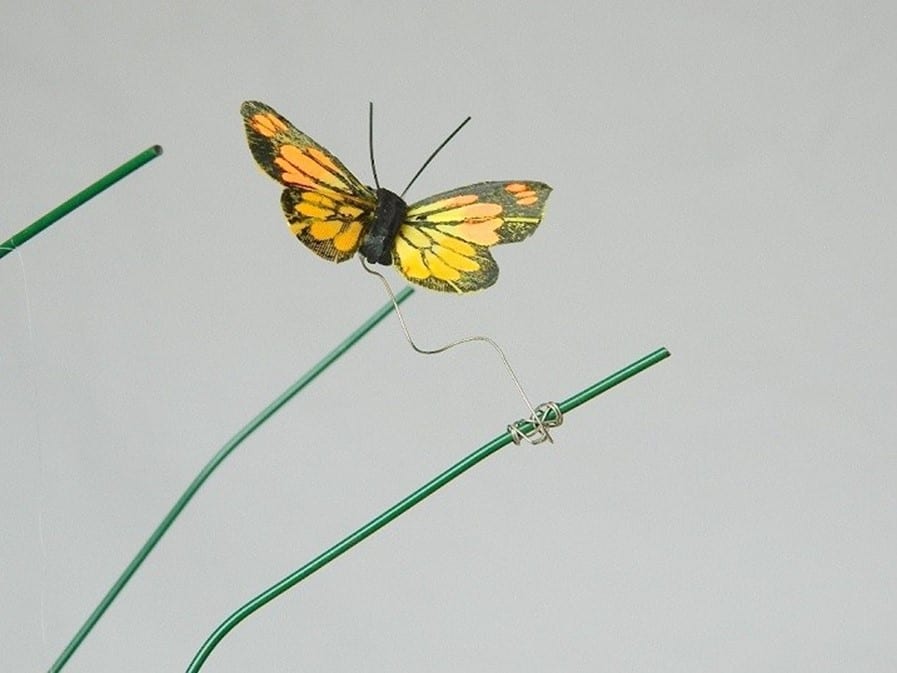
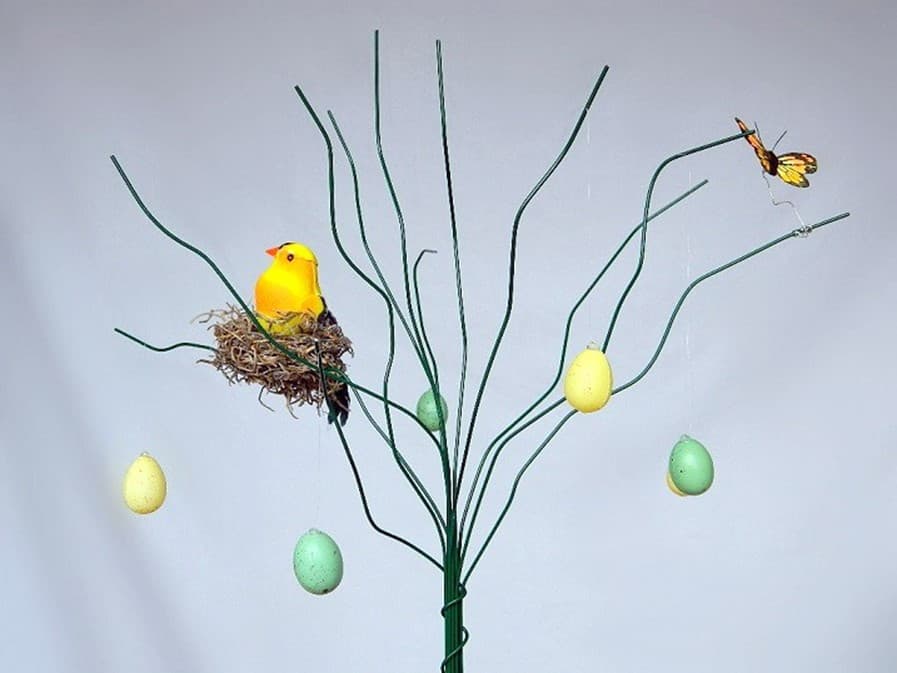
(9.) I actually made a bird’s nest out of some of the moss by molding it with my hands, spraying it with hair spray, and putting a few dabs of hot glue here and there. I trimmed off any pieces sticking out and it turned out as good as the ones I saw for sale at the craft store! (10.) The fake bird I bought came with a wire attached to it, (11.) so I pierced it through the nest, placed it on a branch, (12.) and twisted the wire around the branch to secure the bird and nest.
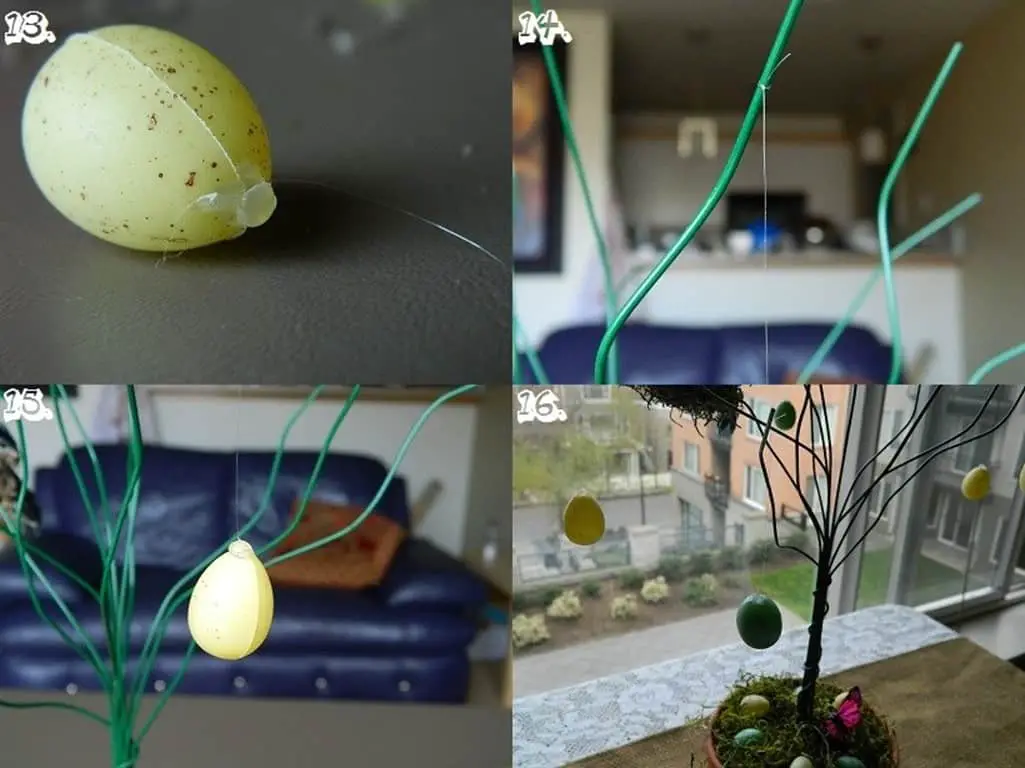
(13.) For my egg ornaments I placed a dab of hot glue at the top of the egg and stuck one end of clear thread into the glue. Let it dry for 15-20 seconds and then snip off thread to the length that you want. (14. & 15.)Tie and knot it around a branch and (16.) continue with remaining eggs until finished. And you’re done! : )
Happy (early) Easter everyone!
Ohhh the 90’s….

