11 Ways To Keep Polish From Chipping
The next worst thing after breaking your nail has got to be seeing your nails chip one by one. Your flawless and neat manicure can end up looking uneven and cracked in a matter of hours. However, with proper steps and some tips & tricks, you will easily prevent your nail polish from chipping! If you want to know why this happens and how you can prevent it, keep on reading!

Why Does My Nail Polish Chip?
If you end up experiencing nail polish chipping, it is probably because of the following reasons:
- You didn’t apply it properly in the first place
- Your nail polish is old and maybe expired
- You forgot to put a top coat on top
- You were exposing your manicure to a lot of water
- You’ve scratched a surface
- You’ve had it on for too long
- You are a nail biter
How To Prevent Your Nail Polish From Chipping? 11 Different Ways That Work!
There are always ways that you can look into if you want to fix-up your chipped nail. Here are the top 11 solutions that you can go for!
1. Get a professional manicure

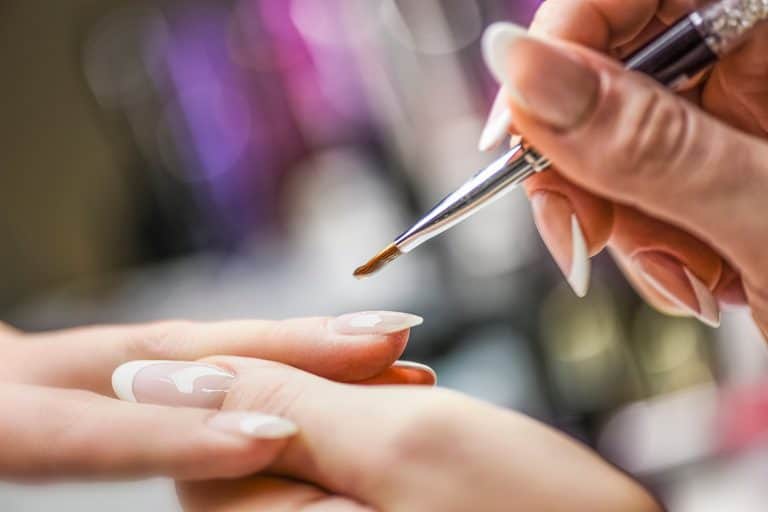
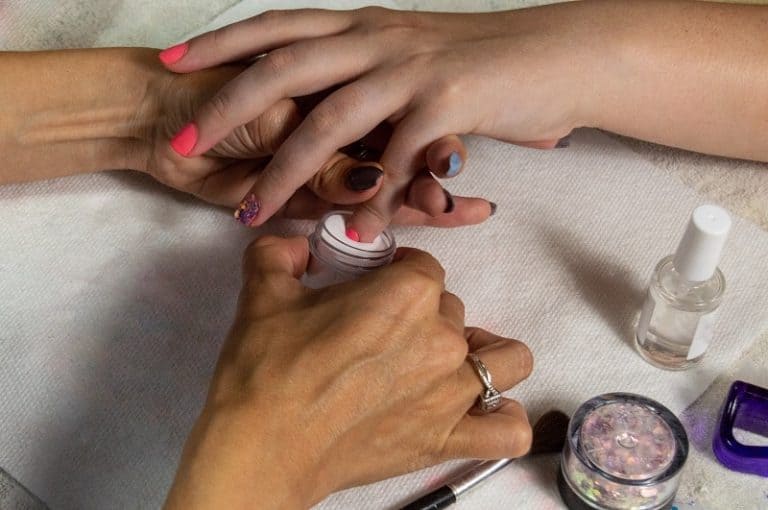
Nail salons know how to do nails quickly & efficiently. If you are not that precise when it comes to nail polish application and you are a bit messy when it comes to painting your nails, book yourself a manicure!
A nail tech will give you healthy, shiny, as well as feminine nails with ease. You should book yourself a session every other week if you wish to maintain your natural nails, and definitely if you wish to switch up your nail color.
2. Only apply your polish over dry nails

You shouldn’t have any moisture on top of your fingernails. Make sure to wash your hands, and towel dry them after getting out of the shower. Nail polish won’t adhere easily or correctly if you apply it to a semi-damp base. Make sure that there are no creams, moisturizers, or lotions around your natural nails either, since these can make an impact when it comes to the longevity of your nail polish.
3. Invest in your nail polish

If you pay a higher price point for your nail polish, you will get more pigment and a better color payoff. Pricier nail polishes have better quality, nicer brushes, as well as an amazing lifespan. There are also fewer chemicals in them which means that you won’t damage your nail plate or your nail cuticles. Invest around $15 in your polish bottle, and you’ll be satisfied with the outcome.
PS: Avoid quick-drying nail polishes, as well as any matte kinds. These can chip easily and quickly. Also, always double-check your nail polish and make sure that you’ve closed the bottle tightly after using it since you don’t want it to further dry out or spill.
4. Use a base

A base coat, as previously mentioned, is a must-have product if you want your manicure to last. However, do not use the ”2-in-1” base and topcoat products since these cannot work and they should be sold and advertised separately. Prime your nails since it will help with the chipping, but it will also protect your nails from turning yellow or from looking uneven in the long run.
5. Let it dry down

Usually, your nail polish application consists of a base coat, two coats of color, and a top coat, right? Well, it is crucial to let all of your colors and coats dry off in between the process. You should wait for two minutes between each coat (at least). This way it will settle and dry down properly, without leaving any little creases, smudges, or uneven patches.
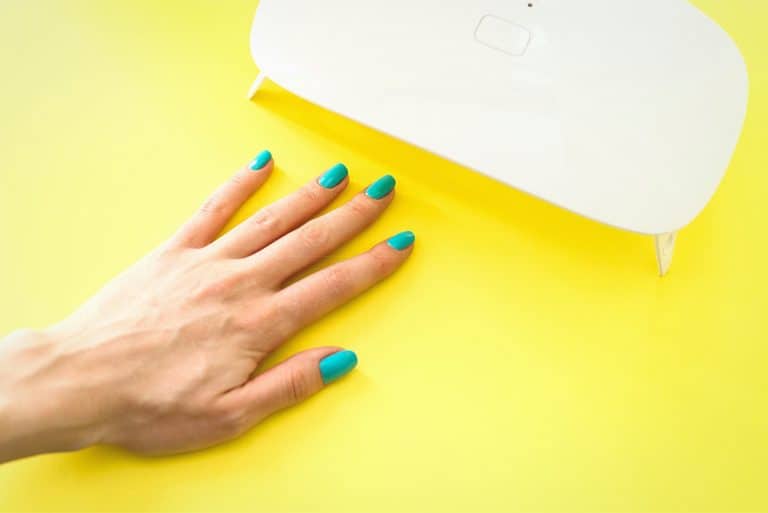
However, if you have a nail lamp (UV or LED) the drying process can be done in less than 30 seconds with each coat! So think about it, it might be a good investment.
6. Set it in place

You should set your manicure in place and let it bond with your colors. How to do so? Use a top coat all over your fingernail. Start at the bottom and work your way toward the top. Do one nail at a time, and if possible, let them dry under a UV or LED lamp. This move will, surely, help with the nail-drying process, and it will give you chip-resistant nails in less than 30 seconds! Use a top coat that has loads of shimmer & shine since it will make your manicure look healthy and professional!
7. Get your nails short

Keeping your nails on the shorter side can be quite beneficial for your manicures in terms of their long-lastingness. Short nails are less prone to chipping and they can’t smear, smudge or break as easily since they won’t grab or get stuck in fabrics as often. If you don’t mind neat and short nails, embrace this look, and show off your natural nails everywhere you go! Simply cut them with nail scissors and shape into an oval with your favorite nail file.
Oval nails are easiest to achieve + they are least prone to breakage or chipping.
8. Be smart and cautious with them

Sometimes, you just have to be cautious and smart with your nails. It is better to be safe than sorry, right? Try to avoid any sporty activity, as well as heavy exposure to the sun, heat, wind, and definitely water. Protect your nails by wearing gloves when doing the dishes, and keep them moisturized as often as possible. This will prevent any peels or color cracks, as well as hangnails.
9. Never bite your nails

We’ve all done it at one point in our lives, there’s no need to be ashamed of it. However, what is vital is for you to stop doing it at the moment. Biting or even licking your nails can ruin the color. It is also an unhealthy habit since it transfers any dirt, bacteria, as well as saliva over your nails, so try to get rid of this habit.
10. Do slight touch-ups

Slight touch-ups are a better idea than entire manicure switch-ups. Sometimes less is more, and it is way easier (and more effective) to fix up your slight chip than it is to change the entire manicure. If you do end up experiencing a slight chip of your nails, add a bit of color over it and let it dry down. It might not look as even or realistic, but it will help with the long-lastingness of your polish, especially if you’ve only chipped a corner.
11. Add a top coat every couple of days
This is another trick that will prolong the lifespan of your manicure. This polish trick will also keep your nail polish strong and resilient, as well as shiny. It will seem as if you’ve just painted your nails! Add a top coat every 2-3 days, but redo the entire coloring process only once a week (or even less often, depending on if there is a need for you to do this less often).
PS: Please don’t dip your hands in cold water if you want to make your polish dry quicker
This trick is something that we often see on the internet, but it is a scam. Also, you should never blow onto your nails to speed up the drying process. Your nails need to cure (and can only cure) under a UV lamp, LED lamp, or with the help of oxygen. Spraying water, quick-drying sprays, as well as hot air off of your mouth won’t make a difference. You are also potentially placing tiny drops of saliva on your nails, which will further create uneven bubbles. Make sure that you are patient, and your nails will thank you in the end!
Ready For Your New & Flawless Chip-Free Manicure?
Ready to show off your flawless nails? You can easily create the perfect color that can last for days, just follow these simple 11 steps! By doing so, your nails will look as healthy as ever, and your color will be bright, bold, and noticeable! Your manicures will easily last for seven days (a whole week) and you will love the outcome. Let us know how did the process go, and tell us if you are satisfied with your new shiny nails!

