Top 3 Ways To Thin Out Your Nail Polish & Save It
Did you know that nail polish tends to dry out the fastest when compared to all of your beloved beauty products?! Over time, your nail polish gets thick, chunky, as well as clumpy, which makes it impossible to apply.
Nothing is as bad as spending $15 on a high-end polish and watching it turn to an unusable product.
Luckily for you, there are ways to fix this! Keep on reading since we will teach you how to thin your nail polish and prevent the product from separating and further losing its watery consistency!
Why Does My Nail Polish Dry Out In The First Place?

Did you know that your nail polish has a specific lifespan? Just like every other beauty item, your nail polish will expire. Usually, nail polish can last you anywhere from 18-24 months (depends on its ingredients, manufacturer, as well as the brand itself). However, you should always store it in a cool and dark place for it not to go bad. In case you don’t, it can get dried out.
Nail polish usually loses its watery and normal consistency because of:
- You are not storing it vertically
- It is exposed to some heavy sun
- It’s expired or its expiration date is due soon
- You didn’t close the cap properly, and some air got in and has dried out the product
The last reason is the most common one, and almost every woman has forgotten to put the lid back on top of her polish at least once in her lifetime, haven’t you? This is why it is crucial to paint your nails quickly and efficiently, so make sure that you are comfortable and confident when it comes to your at-home manicure and pedicure sessions!
PS: Practice makes everything perfect. If you are not the best at coloring your nails at this point, you will eventually get there!
How To Prevent Your Polish From Drying Out?
If you want to have your newly purchased nail polish bottle for as long as possible, make sure that you are careful with it, and obey some rules, such as the following ones:
Avoid heat – as previously mentioned you should keep your nail polish in a dark & cool room. Keep your polish in a cabinet and close the lid every time. Make sure that your polish application is fast since doing one nail at a time for too long can still have an impact on the state of your polish.
Don’t shake the bottle – make sure that you are gentle with your polish. Vigorous shaking will create bubbles and your polish application won’t end up looking even on all of your nails.
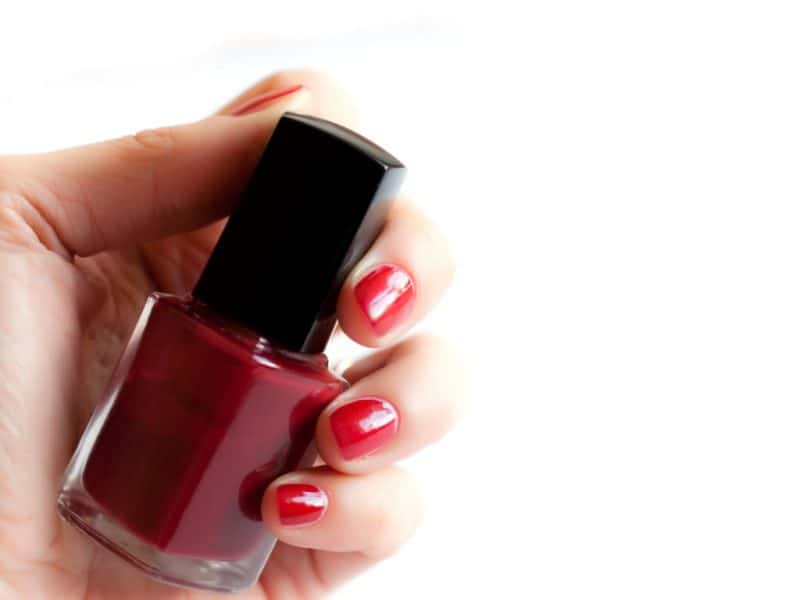
Remove the dry part of your polish if you spot it – you should use a cotton ball or a Q-tip and use a bit of polish remover. This duo will help you scrub the cap and remove the dried out parts that have gathered at the top of the tube.
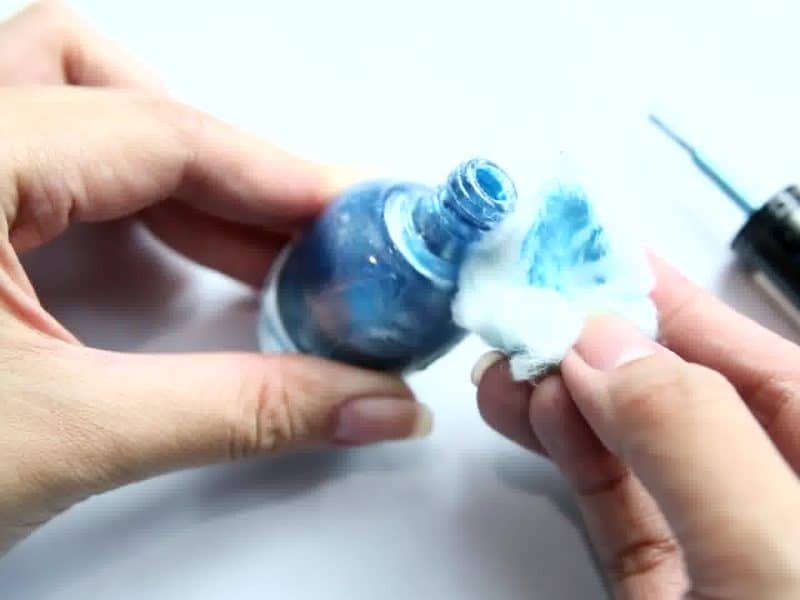
Thin it out – if you couldn’t stop your polish from over-drying, you can still save it in time by thinning it out! Here’s all that you should know about this process!
Top 3 Ways To Thin Out Your Nail Polish & Save It
An Actual Nail Thinner
Purchase An Actual Nail Thinner
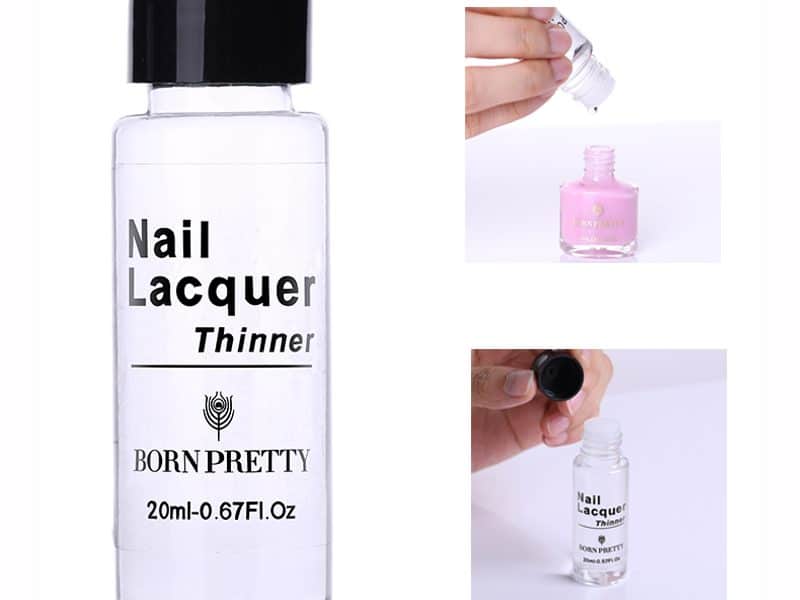
- A lot of professional nail techs believe that this solution is the quickest and easiest one (especially if you are a beginner). If you don’t know how to DIY some tips and tricks, make sure that you purchase a nail thinner.
- Usually, a nail thinner will cost around $10 and you can get it in most drugstores and in some larger shopping malls. Head out and purchase your product.
- This item is quite easy to use, but you will also get instructions with your purchase. Your entire step-by-step process will be explained at the backside of the box.
- You should just use a couple of drops and squeeze it out directly into your polish. Close the lid and place the polish between your palms while holding it firmly. Do not shake it, just rotate it back and forth to spread the product and to avoid bubbles from forming.
PS: You can actually make your own nail thinner (if you want to)!
If you are a crafty or an artsy person, think about creating your own nail thinner instead of purchasing one! You will actually save some money and have a fun experiment to indulge.
How to make your own nail thinner?
- Add some alcohol to the tube
You should use rubbing alcohol (preferably isopropyl rubbing alcohol) and you should apply it directly to the bottle.
- Use droppers
Make sure that your application is precise and use eyedroppers with a steady hand. Add two drops off the bat and let it dissolve around the tube.
- Shake the bottle
Wiggle the bottle back and forth as we’ve previously explained! Enjoy your new & thicker nail polish consistency! Apply your new coat in the upcoming 30-60 minute period!
Use Pure Acetone
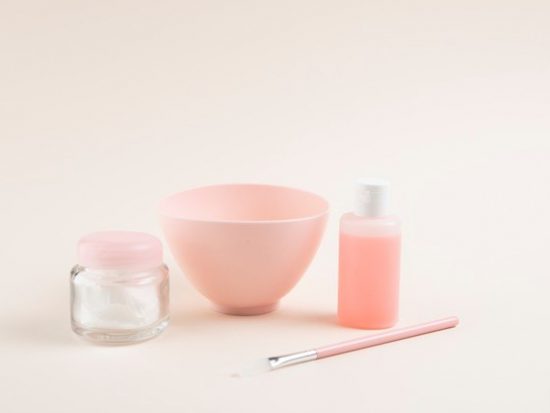
- You probably have a bottle of acetone laying around at your home, right? Make sure that you use (or purchase) pure acetone since it can act as an amazing sealer between your nail polish and your fingernails.
- If you are out & about and you’re running low on time, just bring the acetone and your favorite nail polish color with you! Mixing these two ingredients is as easy as a piece of cake, and everyone can do it!
- Use one or two drops of your pure acetone and squeeze it out into your polish.
- If your polish ends up looking dry after the second pump, add one more!
- Rub the bottle between your palms and let the mixture develop on its own. Acetone will penetrate all the way to the bottom and it will bring your color back to life!
Turn On Hot Water
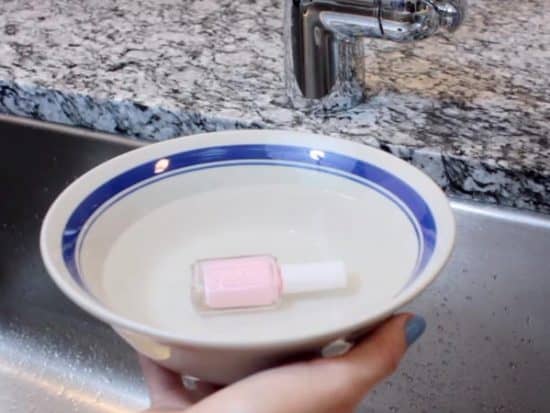
- If you have no products at home and you still need to act quickly, just turn to this method! All you need is some time, patience, and hot water!
- Turn your bottle upside down and flip it up and down for two minutes straight. This will revive some parts of your vibrant nail polish.
- Warm up the bottle with your palms and let the heat of your hands warm up the polish. After two minutes, it is time to turn on the hot water!
- Try and hold your polish under hot water for 2-3 minutes. Make sure that your lid is sealed so that the water doesn’t get inside the bottle.
- You could also place your nail polish in a pot of boiled water for 1 minute. Make sure that you are extra careful with this step since you don’t want to burn your fingers.
- Let the bottle cool down and apply your polish after some time passes by. Ideally, you should wait for 15-20 minutes.
However, Always Know When It’s Time To Say Goodbye!
Although our methods and tricks can be beneficial and actually helpful for your old nail polishes, it is still vital for you to know when is time to say goodbye!
If your nail polish becomes too dry and unsavable (even after you’ve tried out 2-3 of our methods) make sure that you toss it out! Sometimes, it is just way easy (and smarter) to start out ”fresh”, literally!

